
Links to Amazon and eBay on this page can be affiliate links. If you buy through them I may earn a small commission, at no extra cost to you. See my affiliate disclosure.
A NAS build sounds like a big project, but the idea is simple. A NAS is a computer whose main job is to store your files and share them on your home network. You can buy a ready-made box from Synology or QNAP, or you can put one together yourself. This guide is about the second option, done on a budget.
I go through what the NAS is for, which hardware to use, which drives to buy, how many drives to start with and which software to run. Hard drive prices went up in 2026 as well, so buying the right number of drives matters more than it did a year ago.
Why a DIY NAS build instead of a Synology?
A ready-made NAS is easy, but on a budget you pay a lot for the brand and the software, while the hardware inside is often a weak CPU with little RAM. A DIY NAS build lets you reuse an old PC or a cheap refurbished one, pick your own drives and run free software. You also learn how it works, which is half the point of a homelab.
The downside is that you set everything up yourself. If you just want your phone photos backed up and never want to open a settings page, a ready-made box can still be the better choice. Be honest with yourself about that before you start.
Step 1: decide what your NAS build is for
- Backups of your laptops and phones
- A photo library for Immich
- Movies and series for Jellyfin
- Storage for virtual machines on a Proxmox server
Backups and photos need safe storage more than speed. Media needs a lot of space. VM storage needs fast SSDs. Most first NAS builds are about backups and photos, so that is what I focus on here.
Step 2: pick the hardware for your NAS build
You need a PC with room for at least two 3.5 inch drives, a SATA port for every drive and enough RAM for the software. These are the budget levels I would look at:
| Budget level | Hardware | Drive bays | Notes |
|---|---|---|---|
| Starter | An old desktop you already own | Usually 2 or more | Free, check the number of SATA ports |
| Budget | Refurbished small form factor office PC | 1 or 2 | Some models only fit one 3.5 inch drive |
| Step-up | Mini-ITX NAS case with a new board | 4 or more | Most room to grow, most work to build |
What I would avoid for a first NAS build is a mini PC with the drives in a USB enclosure. It works for a quick test, but USB connections can drop out, and ZFS in particular does not like that.
For RAM, plan at least 8 GB if you run TrueNAS, and 16 GB to be comfortable. ZFS uses spare RAM as a read cache, so more RAM makes it faster. OpenMediaVault runs fine on less.
Step 3: buy the right drives (CMR, not SMR)
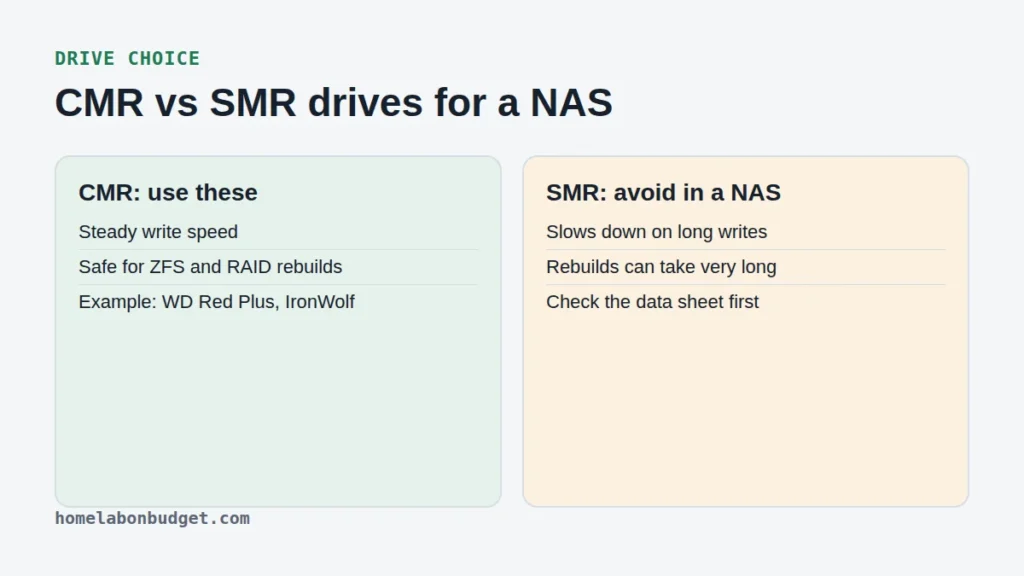
This is the mistake I see most often. Hard drives use one of two recording methods. CMR drives write data in normal tracks. SMR drives overlap the tracks to fit more data, which makes them slow on long writes. That is fine in a backup drive for your laptop, but in a NAS build it can make a rebuild after a failed drive take a very long time.
Buy CMR drives made for NAS use, like WD Red Plus or Seagate IronWolf. Be careful with the plain WD Red drives without Plus, because several sizes of those are SMR. Always check the data sheet for the exact model before you order.
Refurbished enterprise drives on eBay are another option that a lot of homelab people use. They are often cheaper per terabyte, but check the warranty and the seller rating first.
Step 4: mirror, RAIDZ1 or a single drive?
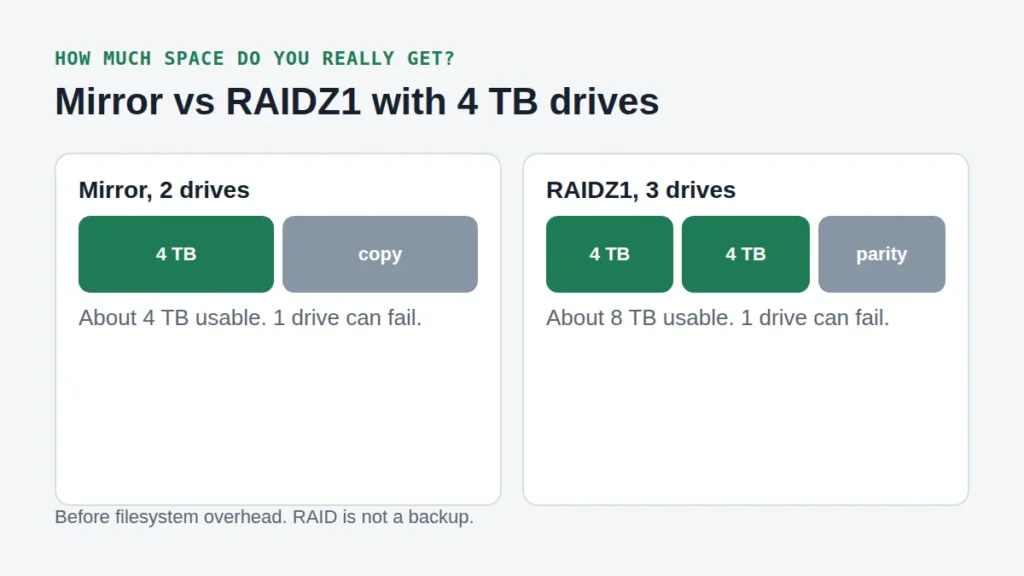
With two drives, use a mirror. Both drives hold the same data, and one can fail without losing anything. You get the space of one drive. With three drives, RAIDZ1 gives you the space of two drives and still survives one failure.
For a first NAS build I would start with two drives in a mirror. It is the simplest setup to understand, you only buy two drives now, and you can grow it later by replacing both drives with bigger ones.
One important rule: RAID is not a backup. A mirror protects you against a dead drive, not against deleting a folder by accident or ransomware. Keep a second copy somewhere else. The usual advice is the 3-2-1 rule: three copies of your data, on two different kinds of storage, with one copy outside your house.
Step 5: choose the software for your NAS build
| Software | Good for | Cost |
|---|---|---|
| TrueNAS Community Edition | ZFS, snapshots, apps | Free |
| OpenMediaVault | Light hardware, simple file shares | Free |
| Unraid | Mixing drives of different sizes | Paid license |
TrueNAS Community Edition is the new name for what used to be TrueNAS SCALE, and the current version is 25.10. It is built on ZFS, which checks your data for corruption and makes snapshots easy. OpenMediaVault is lighter and based on Debian. Unraid is popular because you can mix drive sizes, but you pay for a license.
For most budget NAS builds I would pick TrueNAS if the PC has 8 GB of RAM or more, and OpenMediaVault if it has less.
My starter NAS build parts list
- A refurbished office PC or old desktop with 2 free SATA ports and room for 2 drives
- 8 to 16 GB of RAM
- 2 CMR NAS drives of the same size
- A small SSD for the operating system
- An external USB drive for a second backup copy
Want your apps and your storage on the same machine instead? Then look at my home server setup guide, or read how to choose the best mini PC for a homelab first. More storage guides are in the NAS & Storage category.
Frequently asked questions
How many drives do I need for a NAS build?
Two is the best start. Put them in a mirror so one drive can fail without losing data. Add a third drive later if you move to RAIDZ1 in a new pool.
Do I need ECC RAM for a NAS build?
No. ECC memory is nice to have, but ZFS works fine without it in a home NAS. Good backups matter a lot more than ECC.
Can I use a Raspberry Pi for a NAS build?
For a small and simple NAS with OpenMediaVault, yes. For ZFS and more than one or two drives, a PC with real SATA ports is a better choice. See my Raspberry Pi vs mini PC comparison.